

How to Create Lists in SharePoint Using Visual Studio 2015
How to Create Lists in SharePoint Using Visual Studio 2015 (Step-by-Step Tutorial)
At Imaginet, we’re always looking for better and faster ways to accomplish technology goals. In this article, we’ll explore how to create lists in SharePoint using Visual Studio 2015 in a few simple steps, making your list creation more efficient than ever.
Before we begin, be sure your development environment meets the requirements for developing SharePoint solutions. You can check those requirements for each edition of Visual Studio here.
STEP 1: Create the Solution
The first thing we want to do is make sure you run Visual Studio 2015 as an administrator. This will allow you to debug your code without running into permissions issues.
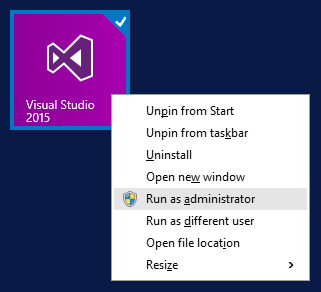
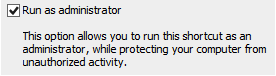
EXPERT TIP: You can also set your Visual Studio shortcut to run as administrator automatically by configuring it in the Advanced Properties of the shortcut. You can get to this by right-clicking the icon and clicking properties.
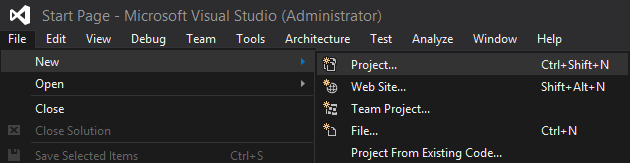
With Visual Studio open, let’s now create a SharePoint Project by going through the File -> New -> Project menu.
Select SharePoint 2013 – Empty Project, and give your project a name.

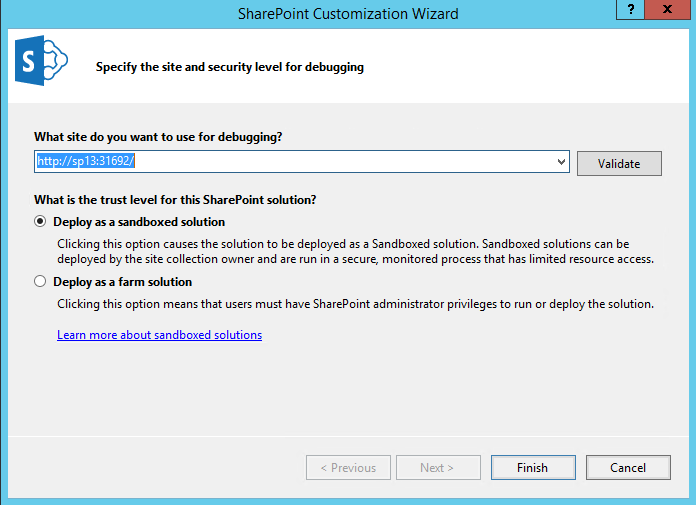
Enter the URL of your local SharePoint development site. You will also get to choose between deploying as a farm solution or a sandboxed solution, but for our tutorial, we will choose to Deploy as a sandboxed solution.
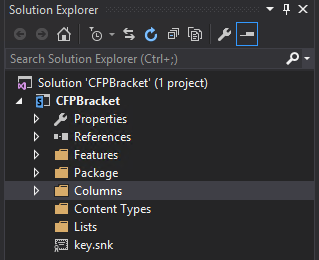
STEP 2: Organize your Items with Solution Explorer
Now that our solution has been created, we can view what Visual Studio has created for us in Solution Explorer. It’s good practice to add folders for the columns, content types, and lists so everything is organized. You can do this by right-clicking on the project and choosing Add and then New Item.
STEP 3: Add Site Columns
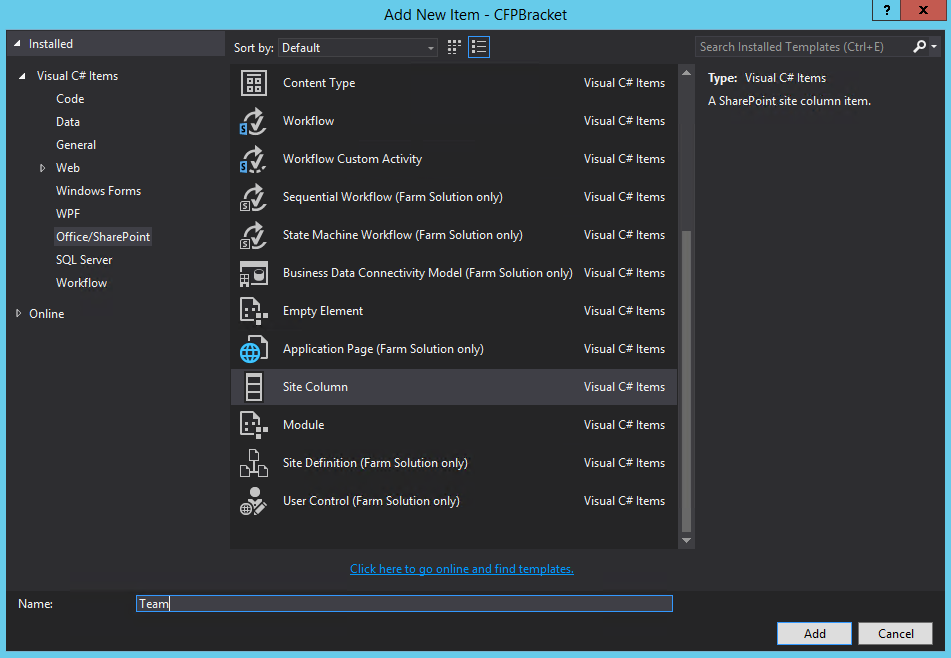
Now let’s right-click on our newly created Columns folder and add some site columns to it. We’ll add all future items to the project the same way we added the folders. Right-click on the Columns folder and add a Site Column.
EXPERT TIP: You should enter your column names without a space. Visual Studio will automatically add space within the column name.
Once you create a column, you’ll notice that Visual Studio has automatically added a Feature to the project and included the new column in it.
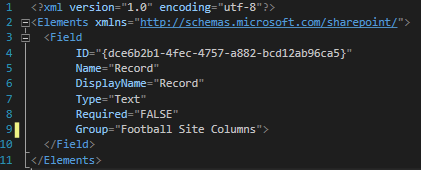
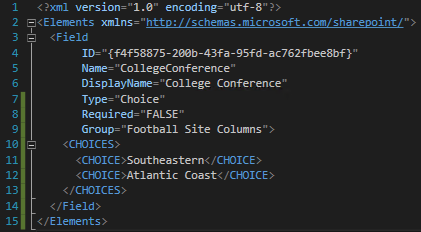
As we’re adding columns, we will need to update a couple fields to fit our solution, such as the Group and Type. Below are two different columns: a text field and a choice field:
EXPERT TIP: Here are links to MSDN documentation on the different types of columns you can create and another link on the definitions for those columns.
STEP 4: Add a Content Type and Columns
Now let’s create some content types to hold the columns. Not every solution requires content types, but we’ll still explain how to configure one in the event your project requires them. Right-click on the Content-Type folder and select Add a New Item. This time select Content-Type and give it a name.
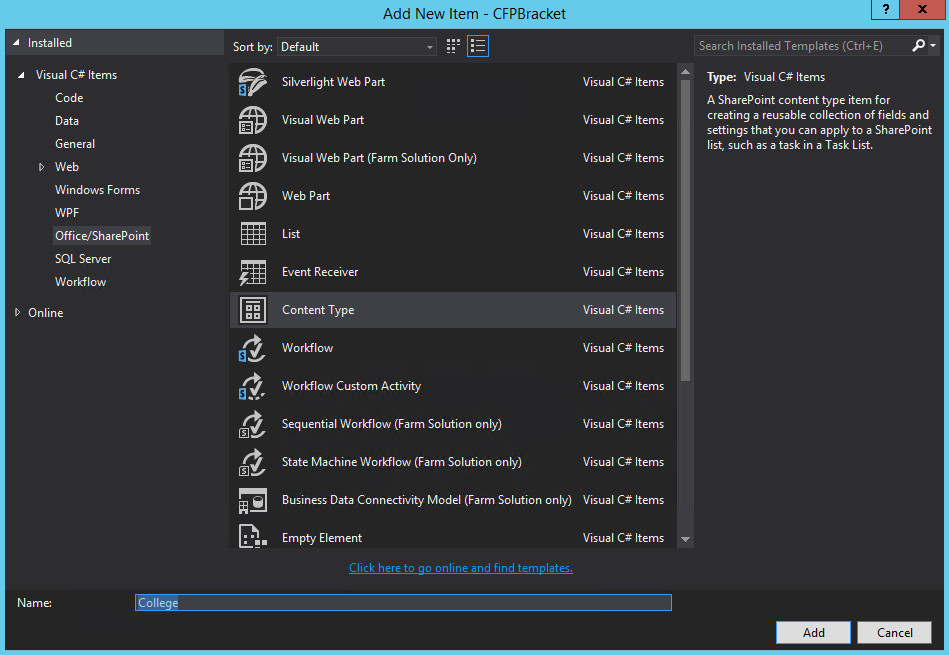
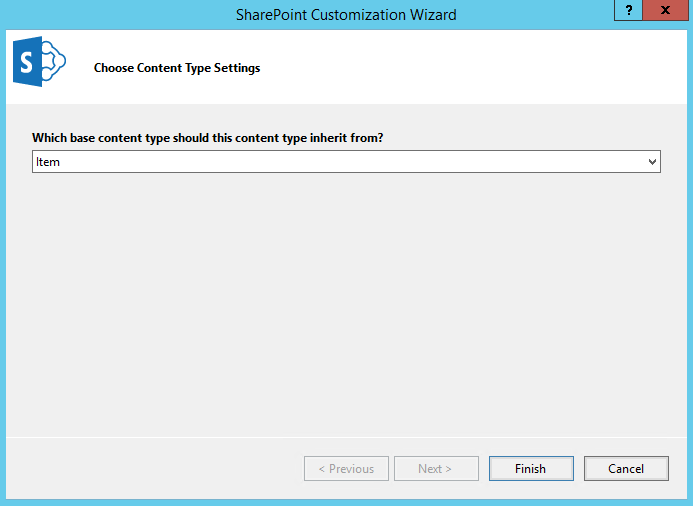
You’ll be prompted to select the parent content type from which to inherit. In our case, we’ll choose Item.
Once the content type has been created, we’ll now have a chance to add the site columns we created previously. Click on the first line in the content type, and enter the Display Name of the column. Visual Studio will populate a list of possible columns once you start typing.
STEP 5: Add a List with Content Types
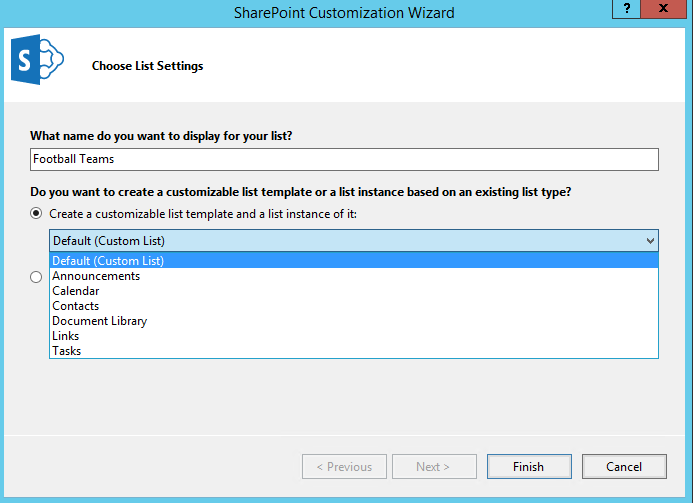
Now we can finally create the list itself. Right-click on the List folder, and click on Add -> New Item -> List and enter a name for the list.
Next, we’ll decide on the list type which will either be a new instance (list/document library/announcement/etc) or a list that will inherit from an existing one. For our scenario, we’ll create a new instance of a default list.
Next, we’ll add the content types to the list. If we didn’t need content types, we could directly type the columns into the list, but for our scenario, we’ll click on the Content-Type button towards the bottom of the list.
This will open the Content Type Settings. Here we’ll type in the content type names, and again, Visual Studio will begin populating available content types from which to choose.
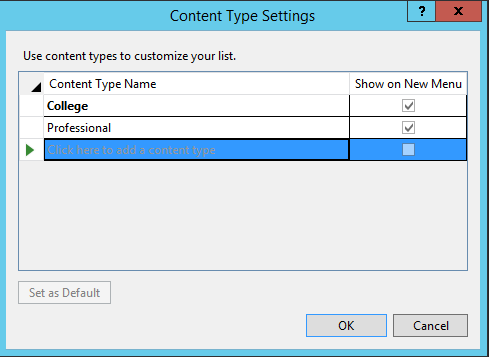
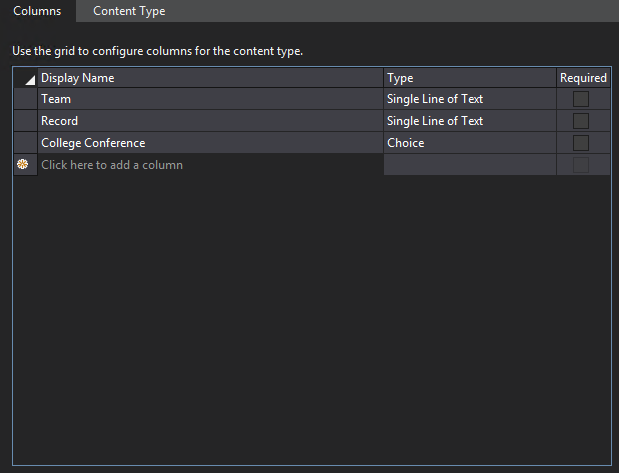
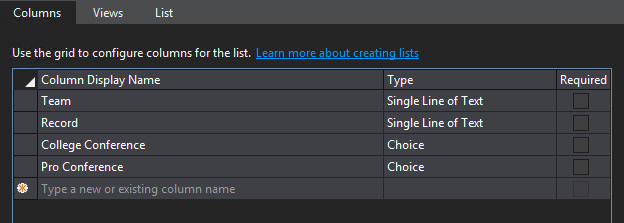
Once you choose a content type, the list will be populated by the columns in the order you entered them for that content type. If you choose multiple content types, then the list will show all of the columns in the list grid shown below:
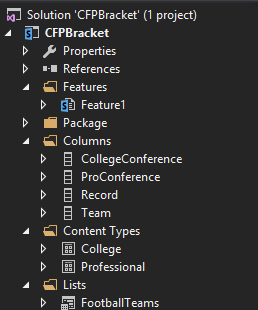
Your resulting solution should look something similar to the screenshot below:
STEP 6: Deploy and View your List
Lastly, after we’ve populated our list, we can deploy it to our site. Remember, every default deployment from Visual Studio will delete the existing list and list definitions. Extensive documentation on SharePoint solutions can be found here.
Right-click on your solution in Visual Studio, and select Deploy. Now open your site, and view your list!

Unsure if you could do this yourself?
Imaginet’s SharePoint experts are always here to help. For over 18 years, our team of certified professionals can conquer any of your SharePoint needs, from handling daily SharePoint tasks (like SharePoint list creation) through our SharePoint Managed Services program to full-on SharePoint deployments, upgrades, migration, and custom SharePoint solutions. Contact us at info@imaginet.com or 1-800-989-6022 for more information.
Thank you for reading this post! If you enjoyed it, I encourage you to check out some of our other content on this blog. We have a range of articles on various topics that I think you’ll find interesting. Don’t forget to subscribe to our newsletter to stay updated with all of the latest information on Imaginet’s recent successful projects
discover more

Adapting to Change: How to Do It and Why It’s Essential
Adapting to Change: How to Do It and Why It’s Essential April 25, 2024 Some organizations are risk averse which often means they avoid change to reduce risk. This…

The Imaginet Difference: Boutique In Size with Big Results
The Imaginet Difference: Boutique In Size with Big Results April 09, 2024 Since 1997, Imaginet has been a proud Microsoft Partner. We offer a variety of Microsoft-related consulting, implementation, and…

QR Code Phishing Attacks: Are You Protected?
QR Code Phishing Attacks: Are You Protected? April 09, 2024 QR code phishing attacks or “Quishing” are on the rise, and it’s crucial to raise awareness about this evolving threat.…
Let’s build something amazing together
From concept to handoff, we’d love to learn more about what you are working on.
Send us a message below or call us at 1-800-989-6022.