

Take your Microsoft Teams Live Event to the next level (OBS Studio)
Take your Microsoft Teams Live Event to the next level (OBS Studio)
Microsoft Teams introduced Live Events to broadcast video and meeting content to large online audiences in a familiar meeting format. Live Events bring streaming to a new level by encouraging engagement throughout the entire event lifecycle.
The decision to hold a Live Event instead of a normal meeting can seem confusing. What makes Live Events different from regular Teams meetings?
Well, from an attendee’s perspective, not much, so you are free to focus on the presentation content. An attendee becomes an audience member replacing default audio and video capabilities with a moderated Q&A. Behind the scenes, there is a producer managing up to 10 presenters like a conductor to an orchestra, seamlessly controlling the audience experience and keeping the presenters in rhythm in real-time. You can learn how to plan and deliver your first Microsoft Teams Live Event with us on January 27 to get a quick demo of these features.
All of this makes Live Events an excellent content delivery platform that comes free with the Microsoft 365 Enterprise license. But it still lacks features to make it a studio-quality production, like creating customizable opening scenes and being able to share content from multiple presenters. The bright side of missing features is the user feedback Microsoft collects to improve the experience from front to back, but that’s its own process and can take time to be released.
That’s where third-party tools can be used in unison to fill the gaps in functionality, such as OBS Studio.
What is OBS Studio?
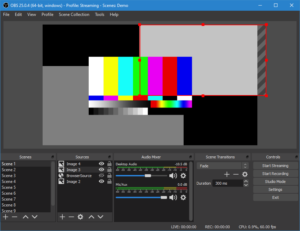
To take your Microsoft Teams Live Event to the next level, many producers turn to OBS Studio. This is a free high-performance software for real-time video and audio capturing and mixing. Using OBS Studio was an adventure for me since I have never used any video or audio editing software. Luckily, the interface is intuitive, and their documentation is great so getting started is easy.
Image source: OBS Studio
What should I know before using OBS Studio?
OBS Studio has a variety of extensive features that work well with Microsoft Teams to create a studio-quality presentation, but with added layers of functionality comes complexity. The pain points I encountered when getting started were the learning curve and my PC.
Being able to customize every piece of your presentation in OBS Studio is a big plus which comes with more to learn. Luckily, you can get a lot out of it from having a basic understanding of the core features but leave a lot on the table when not using extensive software to its full potential.
Another limiting factor I encountered was the limitations of my own PC from running both Teams and OBS Studio. These are both resource hungry and at times can feel unresponsive so be sure to assess your hardware needs prior to presentation day. Addressing these needs beforehand means, that on presentation day, making last-minute customizations of key features will be easier.
Key Features
The features that I found most beneficial in adding a more professional touch to my presentations are:
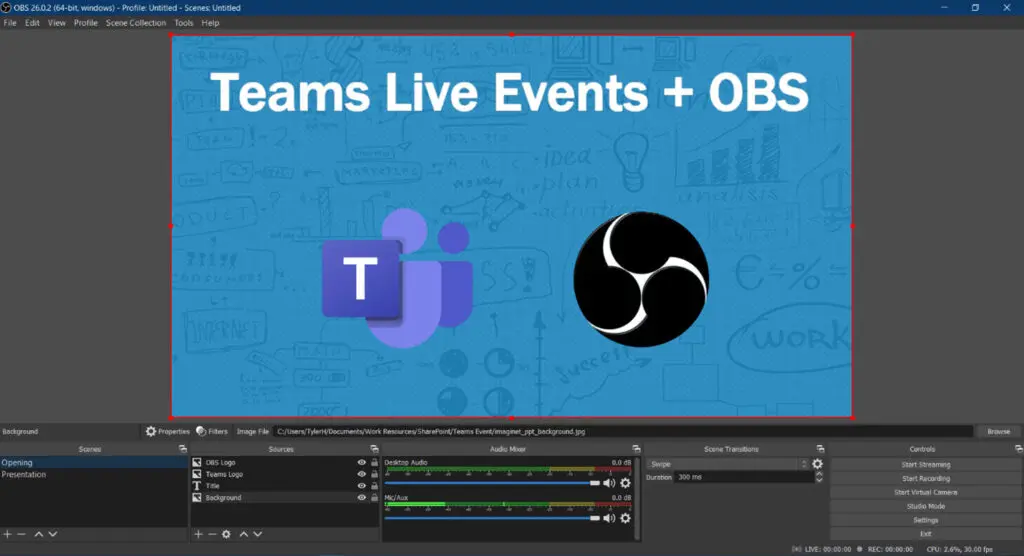
1. Scenes
These are layouts of the sources that you want to present at a given time. Being able to create an unlimited number of scenes makes deciding how to present your content much easier while also giving you control and variety. For example, the “Opening” scene and the “Presentation” scene.
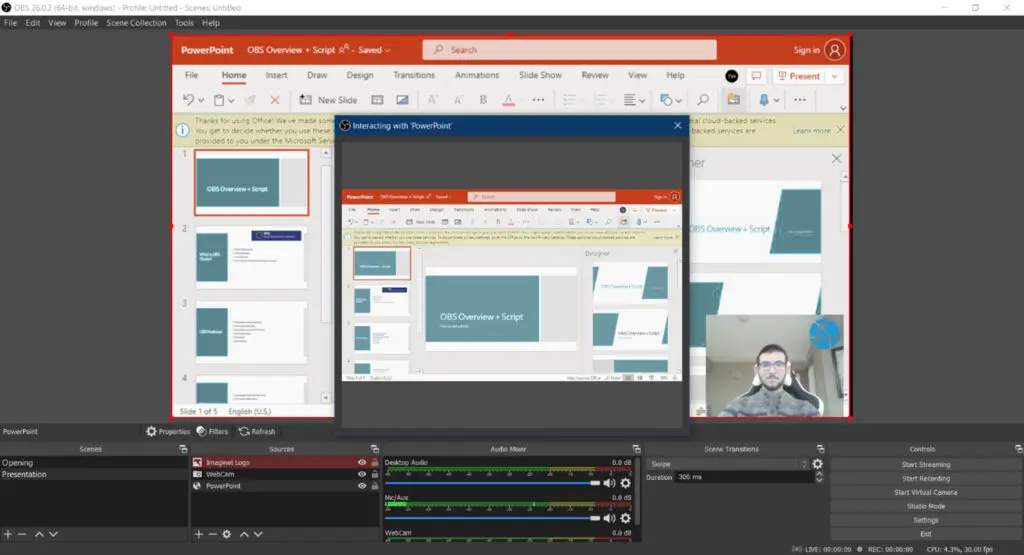
2. Sources
These are the individual pieces of content that create a scene. A few examples of sources would be screen sharing, a webcam, or some images. There is a long list of sources to choose from with each one having its own setting for precise control over the look and feel of your content.
3. Virtual Camera
The virtual camera enables us to display our scenes from OBS Studio in Teams as if it was our webcam content. The virtual camera is available out of the box. However, a few settings in Teams need to be changed to use the virtual camera.
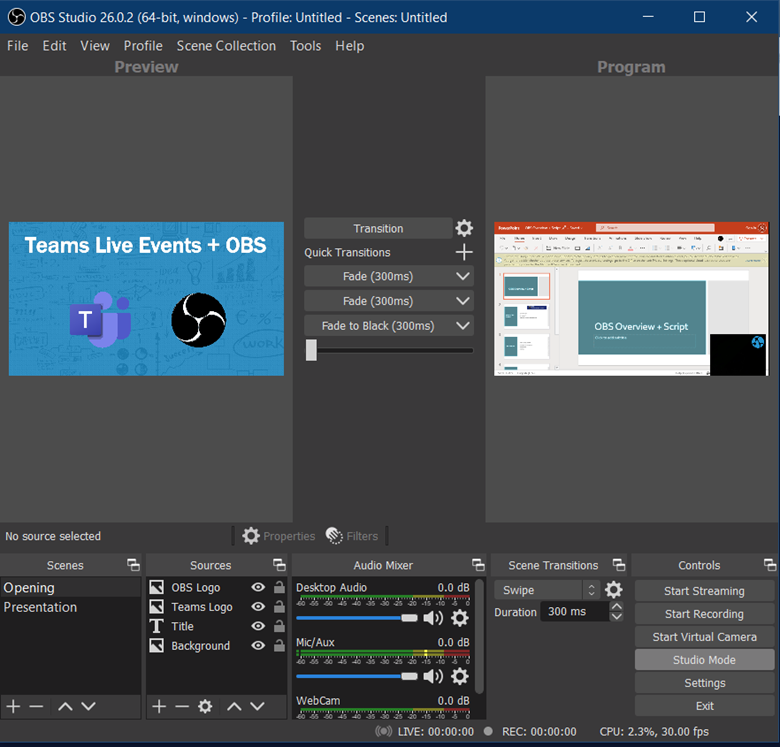
4. Studio Mode
This gives us full control of our presentation. Managing what is currently live and getting your next scene ready gives us a way to smoothly transition between our scenes. Switching between windows while screen sharing in Teams meetings always feels clunky, so having this is a significant improvement to help remove those small awkward pauses keeping your audience engaged.
Nervous about planning your first Live Event in Microsoft Teams?
If you are nervous about planning your own Live Event with Microsoft Teams and OBS Studio, know that a little time invested goes a long way. You can test OBS Studio in your daily meetings to get a feel for creating and managing scenes.
Thank you for reading this post! If you enjoyed it, I encourage you to check out some of our other content on this blog. We have a range of articles on various topics that I think you’ll find interesting. Don’t forget to subscribe to our newsletter to stay updated with all of the latest information on Imaginet’s recent successful projects

discover more
Adapting to Change: How to Do It and Why It’s Essential
Adapting to Change: How to Do It and Why It’s Essential April 25, 2024 Some organizations are risk averse which often means they avoid change to reduce risk. This…

The Imaginet Difference: Boutique In Size with Big Results
The Imaginet Difference: Boutique In Size with Big Results April 09, 2024 Since 1997, Imaginet has been a proud Microsoft Partner. We offer a variety of Microsoft-related consulting, implementation, and…

QR Code Phishing Attacks: Are You Protected?
QR Code Phishing Attacks: Are You Protected? April 09, 2024 QR code phishing attacks or “Quishing” are on the rise, and it’s crucial to raise awareness about this evolving threat.…
Let’s build something amazing together
From concept to handoff, we’d love to learn more about what you are working on.
Send us a message below or call us at 1-800-989-6022.